Comparing things is easier than sewing.

What with the holidays and the root canals and the laziness, I haven’t had time for actual sewing lately so I have embarked on a little bit of sewing geek-out research. Namely, Misses’ Fitting Shell geek-out research.

Each major pattern company has a fitting shell —

V1004 Vogue Misses’ Fitting Shell


McCall’s M2718 Misses’ Fitting Shell


Butterick B5746 Misses’ Fitting Shell


…the boilerplate dress from which all of their patterns are designed. The fitting shell is like Bisquick. Maybe you end up making biscuits, maybe an impossible apple pie, but you open the same box and start with the same powder as step one. The pattern people make everything, from the designer patterns to the 1-Hour quickies, by building upon that basic design.

There is a theory, which Mrs. Bishop supports, that it is worthwhile to make up this basic dress in checked gingham and note all of the changes you had to make to it for the dress to fit you perfectly. Then you will automatically make all of those changes to any and all subsequent patterns by that company in that size.

So if you like extra eggy pancakes, you will always add one extra egg if the mix is basic Bisquick. Banana pancakes, blueberry pancakes, cinnamon apple pecan stuffed pancakes — it doesn’t matter because Bisquick always needs one extra egg.

icelandic pancakes

You can’t assume the same thing about Trader Joe’s, though. So that requires another fitting shell. So the question was:

Is Trader Joe’s pancake mix actually Bisquick packaged in a different box?

No this is not Bisquick, but you know what I mean. Stay with me here.

Butterick, McCall’s, and Vogue all used to be separate pattern companies, but now they are all one huge sewing pattern conglomerate with different branding. But many sewers feel strongly about those brands — Butterick patterns are unfitted, McCalls have weird armscye issues, Vogue offers the best fit. But if they are all really using the same Misses’ fitting shell to design from, then my assumptions are probably wrong.

So I waited for a big pattern sale and bought all three patterns. And now I know for sure — Butterick and Vogue are using the same basic pattern. I am going to assume that McCall’s is too, but the pattern they sell for fitting is different. That’s because it was designed by Palmer/Pletsch as a tool to really master fitting, and includes basic patterns for shirts, dresses, etc. too.  I don’t believe McCall’s is designing from the Palmer/Pletsch pattern but I am not nearly invested enough in this project to test the theory.

So if I make either fitting shell and fit it perfectly, I can make those changes and perfect the fit of any Butterick, Vogue, or McCall pattern.

So why wouldn’t I just go ahead and do this super clever thing? Because I have read many comments on the interwebs from frustrated sewers who get bogged down trying to fit shells, and I am worried that I will make it up, kill myself fitting it, and then won’t really find it that useful in fitting my patterns because of design ease.

Now I have to decide whether to go back and make the gingham fitting shell or move forward with the three piece ensemble. Mrs. Bishop has never given me a choice before and I don’t like it. I am paralyzed by indecision.

Of course this is no time to make a fitting shell since I have been playing this dangerous game of fantasy eating. You know, when you eat everything in sight at Thanksgiving and don’t gain 2o pounds immediately? So then you think “Hey! I’m somehow outside the rules that apply to mere mortals. I can eat whatever I want and somehow the calories aren’t sticking to me. I’m like Highlander for ladies!!! I am going to eat this tub of icing now.”

So what do you think? Anybody out there swear by fitting shells? Or conversely, anybody think they are a colossal waste of time? Let’s here about it in the comments!

The Polls are Closed!

Thanks everyone for your feedback! A resounding chorus cried out for no underwaist and I will be heeding them.

The pro-underwaist movement liked them (or the idea of them) because the underwaist helps hold skirts in place when you have a rectangular body shape. Since I got 99 problems but an ill-defined waist ain’t one, this doesn’t color my decision-making.

Now I am building up the nerve to also forego the separating zipper in a box pleat at the back of the blouse. Why would you want to make your blouse more difficult to put on? What was going on back in the Sixties??

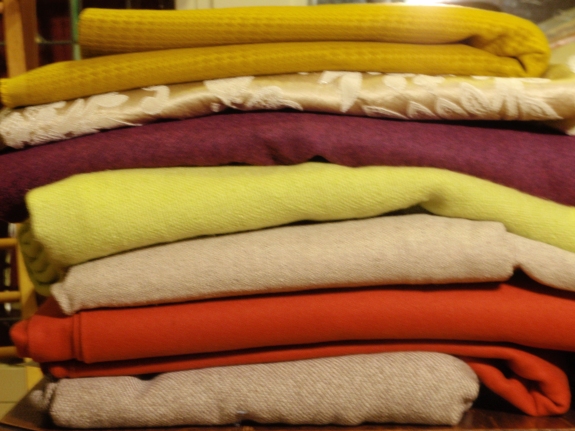
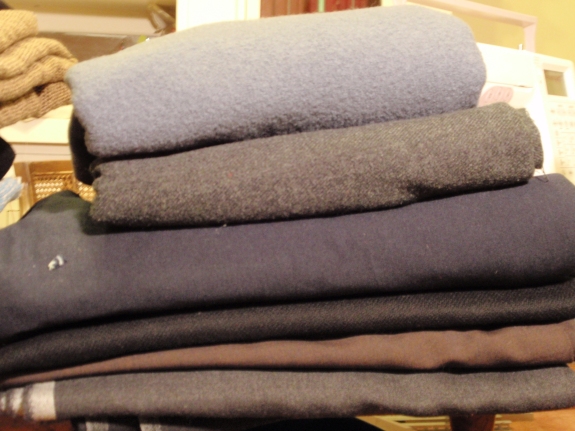
I am also petting my piles of wool, linen, and poly suit weight fabrics to decide who gets to grow up and be the skirt and jacket of my three-piece ensemble

If you see any favorites be sure and shout them out in the comments. I love comments!
Making a Three-Piece Ensemble, 1966-Style

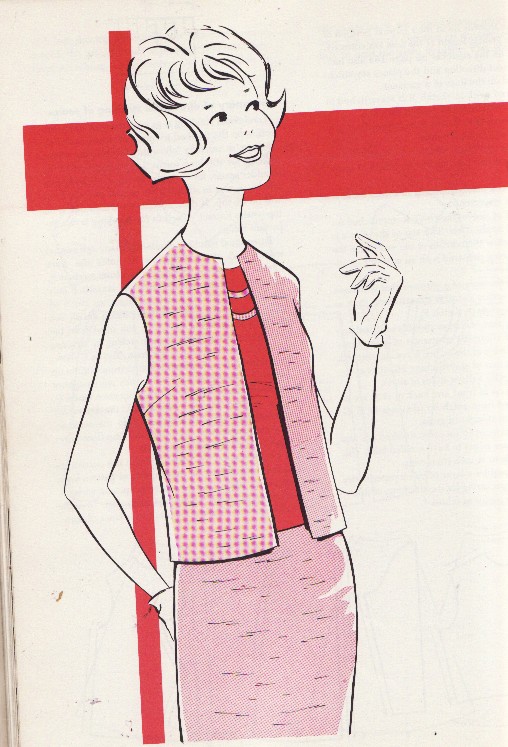
Look how proud the illustration girl is of herself, graduating from humble torn project apron to three-piece ensemble!

Unfortunately this garment consists of parts that we don’t wear anymore and I’m not sure I feel like being this retro. Not just the sleeveless reversible jacket. This project calls for ignoring what the pattern says and

  • Putting a separating zipper down the back of the overblouse (for the contortionist in you) and hiding it in a box pleat.
  • Adding bias piping loopdy-doos on the blouse front
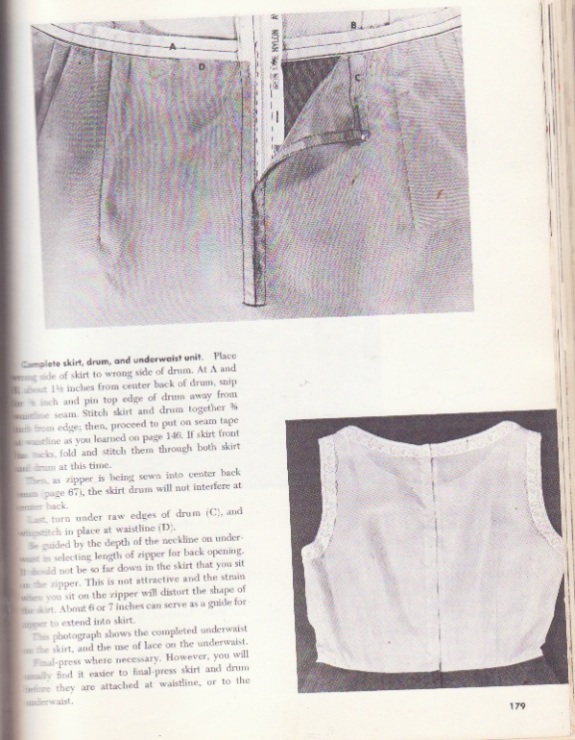
  • Notice how I said ‘overblouse’, not blouse? That’s because I’m supposed to take a bodice from a simple dress pattern and make an underwaist, which is a sort of ‘blouse slip’ which is sewn to the skirt.

See that? That is weird, right?

I’m using B5147

the dress from which I already used for my red dress project. This time I’m using the straight skirt, the blouse, and the jacket (I am allowed to make a jacket with sleeves, it just isn’t deemed as clever since it is not reversible. Ah, well.)

I will be making a lining for the skirt, but don’t tell Edna Bishop because she HATES that word. She throws the term ‘drum’ around a good half dozen times in the first paragraph of this chapter, then while you are scratching your head she fixes you with an icy stare, sniffs, and announces in a clipped tone:

“The drum is often called a lining. However, the name drum is preferred. Underlining skirts is discussed in Chapter 13. We feel that these two words, drum and underlining, best serve to describe their purposes.”

Take that, lining saying motherfuckers.

The Bishop Belt Tutorial

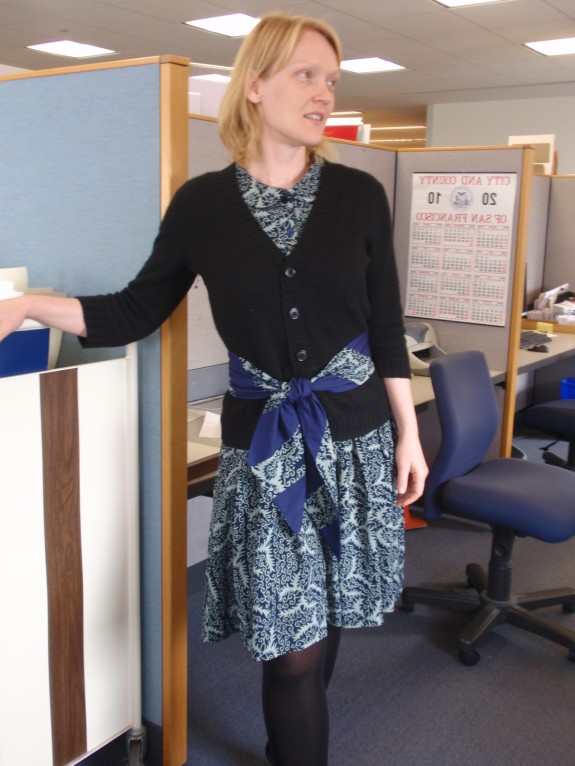
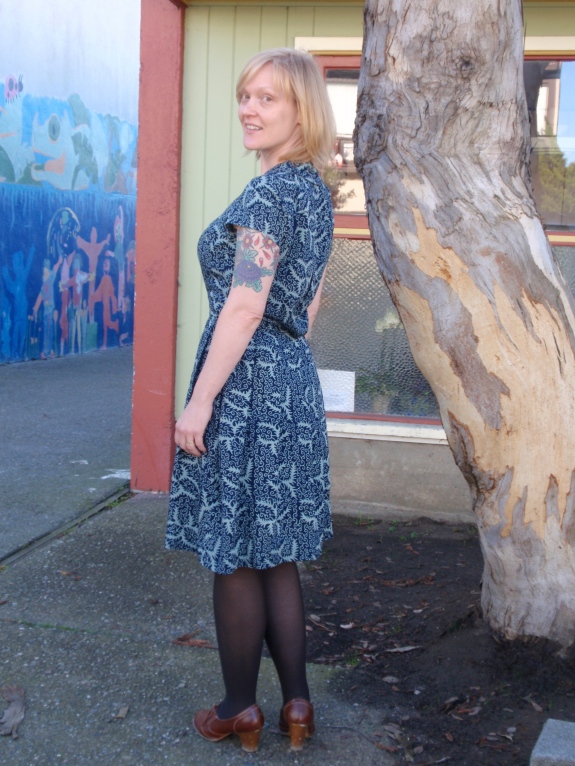
Dress and belt in action!

Poor Edna. I was all set to tear her a new one here over the inscrutability of her diagram for this project — the beginner’s bias sash. It made absolutely no sense. It said to sew A to B and it couldn’t be done (I would post a picture of the page but I don’t want to get in trouble with the Bishop Method people for being to loosy-goosy with copyright protected materials). And then I noticed a wee small dot, like a punctuation mark, on the photo. The Letter A had been left off the diagram and replaced with a lowly, unhelpful period. Poor Edna must have been beside herself! What a thing to happen.

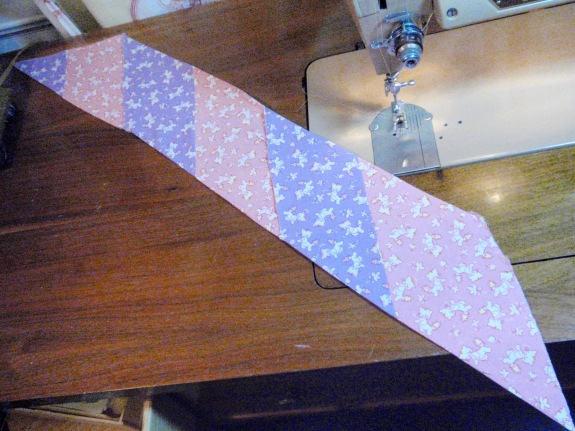
Here is a quick and dirty illustration of how to make The Bishop Sash.

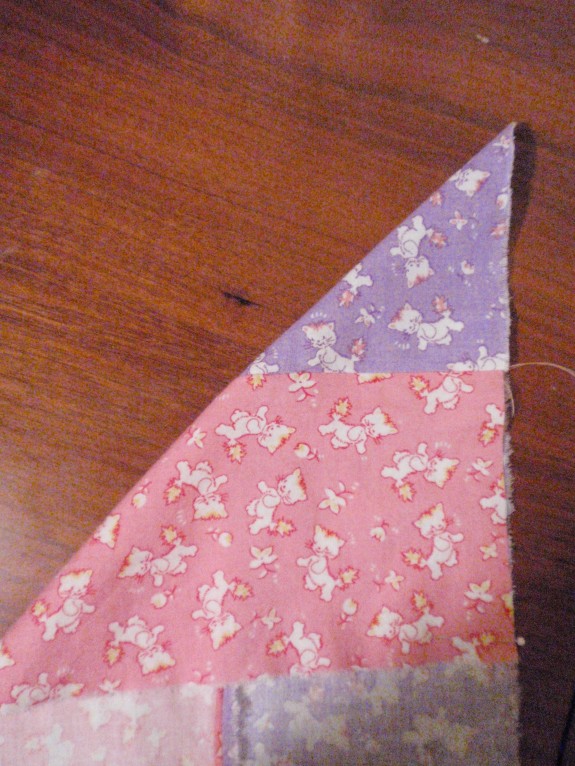
Sew two strips of coordinating fabric, right sides together. Your finished sash will be about two-thirds as long and two-thirds as wide as the resulting piece, so plan accordingly. Now, fold the upper left-hand corner down like you were going to cut out a square for a cootie catcher. Pin that corner to the spot where it now lies, on the other strip of fabric. DO THIS RIGHT SIDES TOGETHER. This photo is wrong (oh, the irony). Remember, although this results in a bias belt the fabric is not cut on the bias so the seam allowances will fray.

Sew from the pointy part to the pin. At the pin, leave the needle down and raise the presser foot up, and take out the pin.

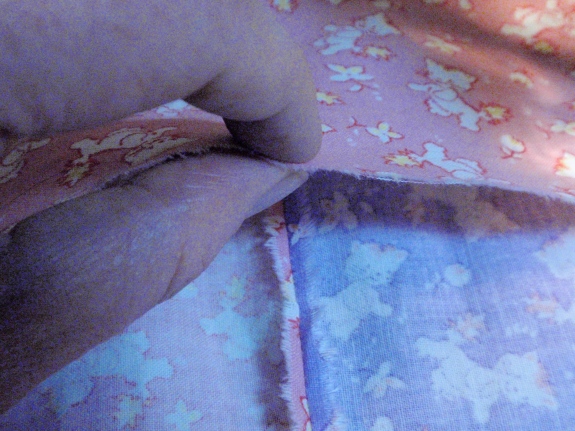
Pick up the top fabric. Pinch it at the point where it lies on top of the spot where your two coordinating fabrics are seamed together.

Now, bring it straight across. Now lower your presser foot. If you have done this correctly, you are ready to stitch again, and will stop when you get to that point where you pinched the top fabric, which is now lined up in front of your presser foot.

Keep pinching the top layer right at the point where it is resting over the join of your two fabrics, and bring it straight over. Do this over and over until you are out of fabric.  Then press your long, spiraling seam open. Turn to right side, press under the unsewn part and sew it shut.

Done!

Does that make sense?

If you make one, please send me a picture so I can post it in my gallery!

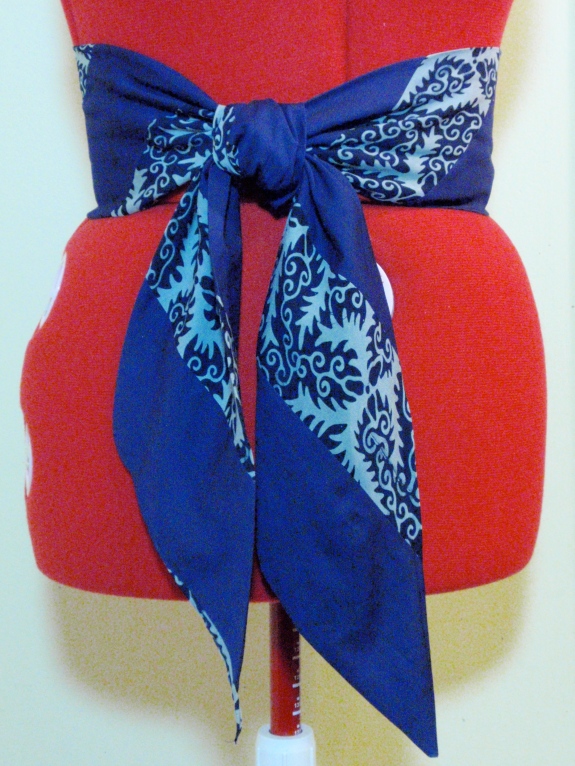
Oh, here is the real one from the back. Yet another Bishop project that looks frumpy in the book and comes out totally cute in real life!

Shirt Dress Success

ETA: I took out the couple of inches at the bottom of the back pleat and it lets my torso fit in the dress, but now the bottom of the center back pleat puddles. I can live with that.

PS: Sinus infection + Monday + Workday at kid’s preschool co-op with no makeup = forgive the haggard look!

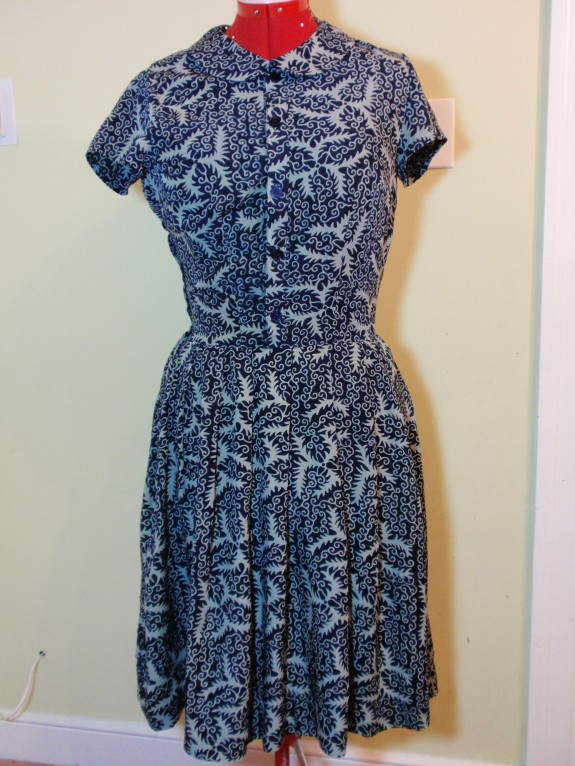
Another one down — I give you The Shirt Dress B5315:

Which I must admit taught me a lot. Buttons, zippers, pleats, set in sleeves, yoke — this is real sewing, sisters. Here’s what I read, what I did, and what I did wrong:

I taped the waistline with rayon tape, pinked the seam allowances and pressed up, which I think looks kind of janky living here in the world of sergers.

I used a combination of stay stitching (skirt waistline and  upper side seam, left side of blouse front) and newfangled fusible tapes (neckline, shoulders, armholes) to stabilize before sewing. A big part of learning with the Bishop Method has been figuring out where I want to switch to newer techniques and where I want to go all fussy and Bishopy.

Per the book, the collar and front opening interfacings were cut 3/4 an inch smaller than the edges to keep them out of the seam allowances. It is a tip I have learned before but I always forget since the pattern pieces just say “cut 2 in fabric and 1 interfacing”.

Speaking of the collar facing, this is the second time Bishop has instructed me to trim a seam allowance to 1/8″ and then understitch the two 1/8″ seam allowances to the undercollar. That is CRAZY TALK. It reminds me of the scene in Little Big Man where Jack Crabb learned to draw and shoot a gun before he touched it — like Jack, I learned it can be done, you can sew on a seam allowance you just trimmed off.

About this time I ran in to trouble because my dress has a double yoke and Ms. Bishop didn’t anticipate that. It shouldn’t have been a problem except I also lost the instructions to my sewing pattern due to my moronic habit of carrying sewing pattern instructions with me everywhere — city buses, the library, what have you. I found everything I needed to know in a Kwik Sew book, and quickly decided that this pattern is stupid.

One of the joys of the double yoke is that you can use it to hide all the messy innards of your shirt or shirt-dress. But I could only hide half my messy innards, because I couldn’t cram the seam allowances from the bodice front into the double yoke on account of that cut-on facing. So I jimmy-rigged something by smooshing the seam allowances into the double yoke for as far as I was able, then covering the seam allowances on the bodice fronts with bias tape. Probably not a great idea, at least not in the way I executed it, because the bias tape peeks out the front collar when it thinks I’m not looking.

The sleeve unit was an enormous pain in the ass, with nice results.

It was fun to read that “One of the principles of the Bishop method is to complete as much as possible of the lower edge of a sleeve before the sleeve seam is sewn.” I hadn’t seen our principles in a while and it was nice to touch base. So I staystitched the lower edge and pressed up the hem and clean-finished it by turning under 1/4″. But then the nightmare — well, the unsettling queasy dream at least, began. For Bishop makes you ease the sleeve cap by running an ease line, clipping the bobbin thread at the front and back notches, and pulling up to ease. This is a ghastly procedure that produced a nice sleeve cap

…but I don’t know if it is nicer than staystitch plus to ease a sleeve cap

and it is a heck of a lot more difficult.

However, I loved the detailed instructions on pressing the cap to perfection, and the reminder (which had never occurred to me before!) that once you ease your sleeve cap you need to make sure it is still on grain. Done and done.

Hubris is a hell of a thing — I whipped out that lapped zipper in no time flat, then realized I had put it in backward, with the lap opening toward the front of the dress.

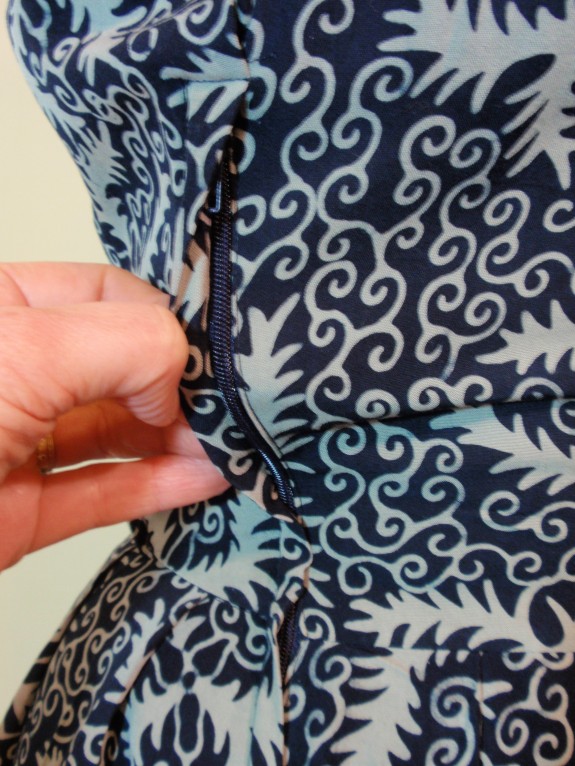
Hello world, here is my zipper

With Bishop’s admonishment to accept only perfection in our sewing still ringing in my ears, I decided that this lapped zipper was in fact sewn perfectly and I accepted it as such. It is merely convention that dictates which way the lap should go. Perhaps I am at the forefront of a new style.

I made buttonholes using my state-of-the-art technology:

Singer Buttonholer attachment, circa 1952

And learned how to properly sew a button (hold the button between thumb and forefinger with the rest of the fingers under the fabric. This gives the button enough play above the fabric to make a firm thread shank, which every God-fearing non-decorative button MUST have).

I pressed up my hem using my Bishop hem presser, used lace hem tape which I don’t recommend because it is time-consuming but doesn’t contribute anything other than bringing the pretty, and I was done!

The downside is, it doesn’t fit. The bodice is way too tight — maybe having something to do with the cut-on placket and the back pleat without pattern instructions. I mean, every Butterick I have sewn has been a size 16 and they are all made on the same block so I figured this was a no-brainer. I probably took in too much for the pleat or folded the front placket too many times or something. Oh well, I’ll always wear it under a sweater.

Gaposis of the Bustosis, even on the dressform

And the crazed pleating prep worked well — they came out nice and even

Oddly enough, despite my being lukewarm on this dress my husband loves it more than anything I have ever worn, perhaps excluding my wedding dress.

Better Pleats Through Overkill

Chapter 10’s dress project has a pleated skirt. Miz Bishop really wants to make sure you don’t screw up your pleats so she prescribes a technique of first marking the pleats on the wrong side with dressmaker’s carbon and wheel, then hand basting the markings for the pleats (not basted pleats, but baste the lines that you just marked on the other side). She says that’s because you mark on the wrong side but pleat on the right side and it is easy to get confused.

P1010084

and I was all pish-tosh, that is absurd. Then I started to pin my pleats, and you guessed it, I started to get confused, so I went back and basted the pleats while I watched tv, and it made pleating SO MUCH EASIER.

P1010090
…sorry it is so blurry, but you get the general idea, I hope. Can you see the white thread at all? Baste the whole pleat marking, and then you can make absolutely certain that the pleat is hanging straight

P1010095

Bishop says to press and measure to make sure the pleats hang straight down to the floor.

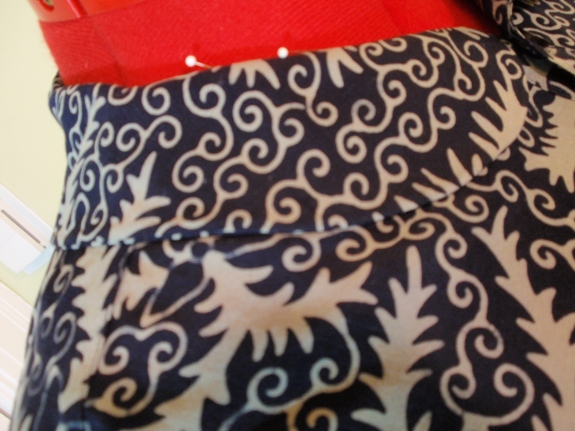
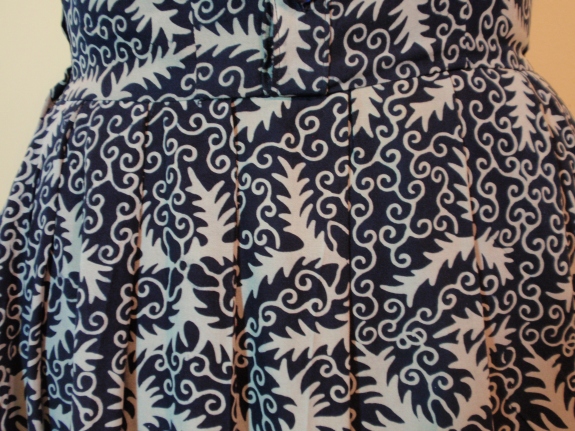
It never occurred to me to measure unpressed pleats to make sure they were of a uniform depth. It is a little hard to see with the busy print but the results are nice — uniform pleats and easily done, all thanks to basting and measuring.
P1010111

My kind of turkey

Mmmm Oreo Turkey Cookies

Swiped from some genius named Kimi C. I’m tempted to make nothing but hundreds of these for Thanksgiving and line them up in rows on the dining room table like Qin Shi Huang’s terra cotta army, only tastier.

The Pellon Albatross Around My Neck

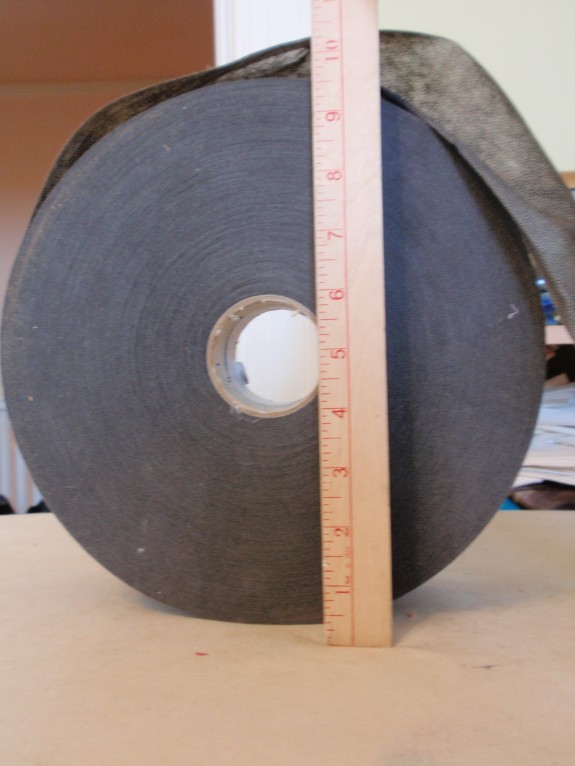
Here in San Francisco a happy thriftshopper can often come across leftovers from Levi’s sample room. Does that mean she has to buy them? No, no it does not. So what kind of person ends up with a 10-inch roll of 3.5″ Freudenberg (manufacturer of Pellon) fusible interfacing? Shamefully, I am that kind of person.

I have had this thing kicking around my house for years. That is despite my never using Pellon interfacing because I love the stuff that Pam sells over at Fashion Sewing Supply.

Want some? And what is your sewing/crafting albatross?

Stalled

I can’t seem to build up any excitement for the chapter 10 dress. At first I was so proud of myself because I found such a good match for the book illustration:

P1010074
With Butterick B5315, which even has the old-fashioned button front and side zipper combo. View A is totally the same pattern

Good match, but

Unfortunately, I hate it.

Omigod so boring

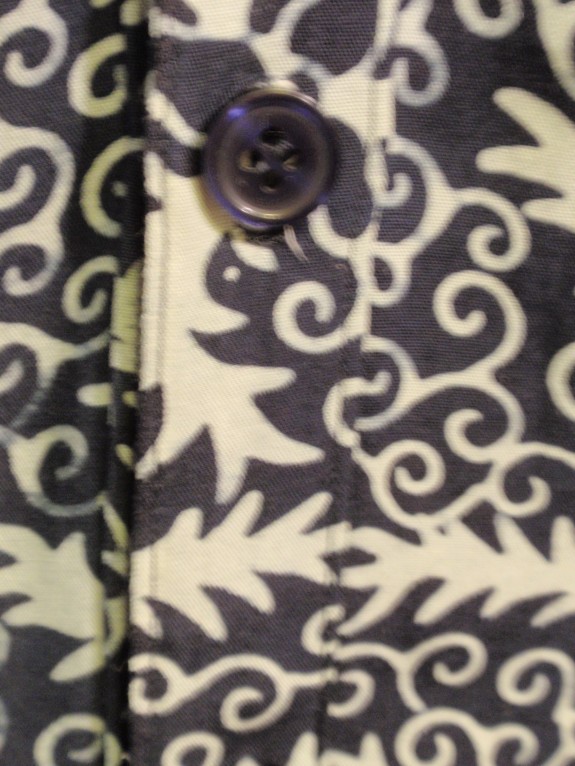
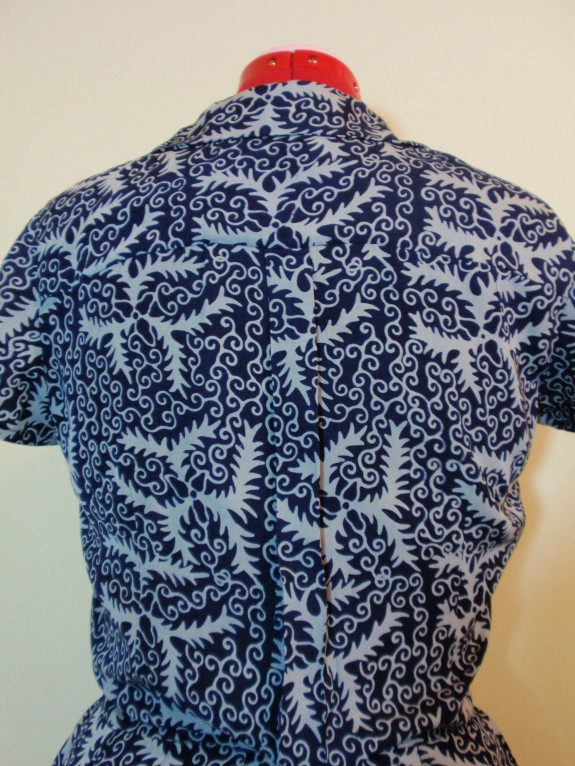
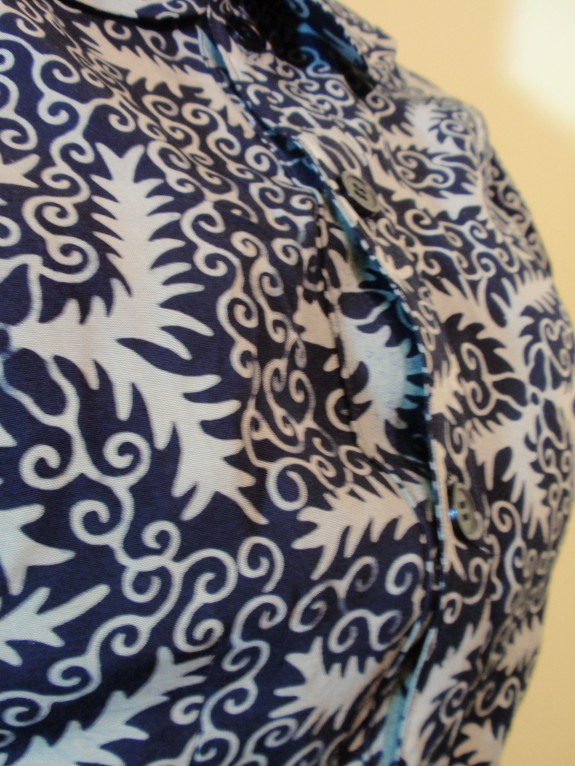
And I haven’t helped matters with my fabric choice. I didn’t want to use a broadcloth because I don’t wear broadcloth ever. I am of the opinion that broadcloth is to be taken literally — it is cloth that makes me look very, very broad. So I wanted to go with a nice drapey rayon challis, but all I could find were obviously designed for men’s summer shirts, the sort Tony Soprano would wear on vacation to Waikiki. I found one that didn’t actually have palms on it, in the shades of blue I like, and I bought it thinking I could make it work. But now I think it will indeed look like a giant belted cheap Hawaiian tourist shirt, which is not what I am going for:

P1010076

P1010072

I might hate this as a dress

…and besides, I haven’t bought a turkey and company is coming to Thanksgiving. And I should probably be getting all that sewing stuff off the dining room table. And out from under the dining room table. And, you know, covering every inch of the dining room around the dining room table.


But here is something exciting — almost like an official plaque commemorating my commitment to The Bishop Method of Clothing Construction:

PB150050Check it out, yo! The Dritz EZ Hem is OFFICIALLY BRANDED. And I have it. I want to have my name and url engraved on a box of them and give them out as business cards.

But seriously, what do you think of this dress/print combination? With a sweater and tights worn in cool Fall and Winter months? Be honest.

B5147 Dress, sewn and worn!

CIMG0008

CIMG0002

CIMG0009

CIMG0003

Holy cow, I just read the pattern description again I bet I cut out view D, the gentle A-line calf-length dress, not view C, the one-inch-below-knee sheath. What is WRONG WITH ME? That explains so much. Sigh.

I spent the whole time thinking, ‘Great Scot, how odd that this dress comes down to my calf when I only added 2″ in length and I am 5’10! And also how very odd that I am having to pin out so much excess at the sides. It is almost as if this knee length sheath dress were in fact a mid-calf length gentle A-line!’ I am so very, very special.